Step 22 - Adding the Appliances
The next step in creating the kitchen is to add the appliances.
While some appliances are included in the architectural library, it is also easy to create these shapes using the drawing tools provided within the TouchDraw application. In the following steps, the stove and refrigerators are added by using tools in the Drawing Toolbar to demonstrate how these shapes can be created without making a library selection.
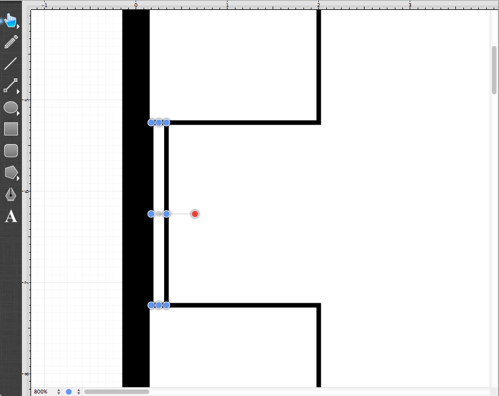
We’ll start first with the stove/range. First, use the Rectangle Tool to draw the back panel of the stove/range.

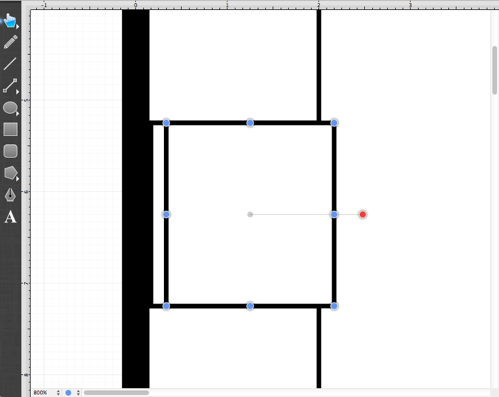
Next, draw the body of the stove/range.
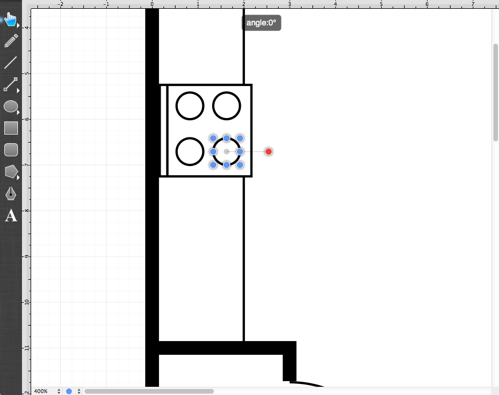
Next, use the Oval Tool to create the burners on the range top.
Lastly, group all of the objects so that the drawn stove/range can be manipulated as one object. To group the stove objects into a single object, draw a Selection**Rectangle** around all of the shapes to make a selection.
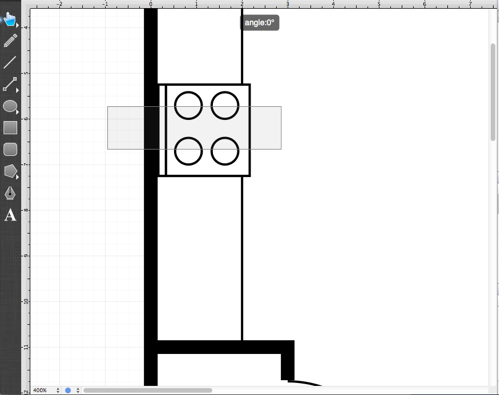
Note: Make certain the drawn selection rectangle is similar to one shown above so that it intersects only the shapes in the stove. Doing so will prevent the complication of inadvertently selecting one of the countertops and adding it to the group.
The range shapes will be selected after drawing the selection rectangle.
To group the shapes, go to the Arrange Menu and select the Group option.
Once the figures have been grouped, only the handles for the grouped figure will be visible as opposed to the handles of each individual figure used to create the stove.
Next, add the refrigerator into the kitchen. Start by drawing the body of the refrigerator with the Rectangle Tool.
Next, insert an “R” into the drawn rectangle in order to make it more obvious that this object is a refrigerator. TouchDraw makes it easy to add text to any shape. Simply Double Click on the rectangle to bring up the Text Editor.
Enter “R” into the Text Editor and then click anywhere outside of the editor to dismiss it.
Next, draw the two “side by side” doors for this refrigerator. Use the Rectangle Tool as well to draw this portion of the refrigerator.
Lastly, add the kitchen sink in the countertop by drawing two rounded rectangles inside of one another.
First, draw the outer rectangle.
Second, draw the inner rectangle.
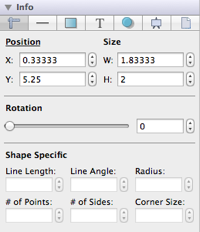
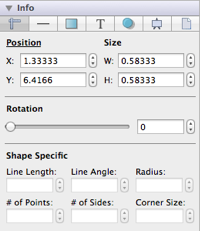
Next, to make the two rounded rectangles look nicer next to one another, go to the Info Panel in the Sidebar Old, select the Adjustment Tab, and edit the size of the Corner Radius of the inner rounded rectangle. The appropriate value in this specific tutorial is .125.
We’ve now completed the kitchen.