Step 13 - Adding the Doors
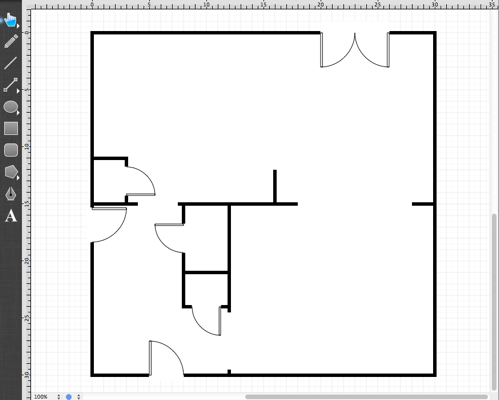
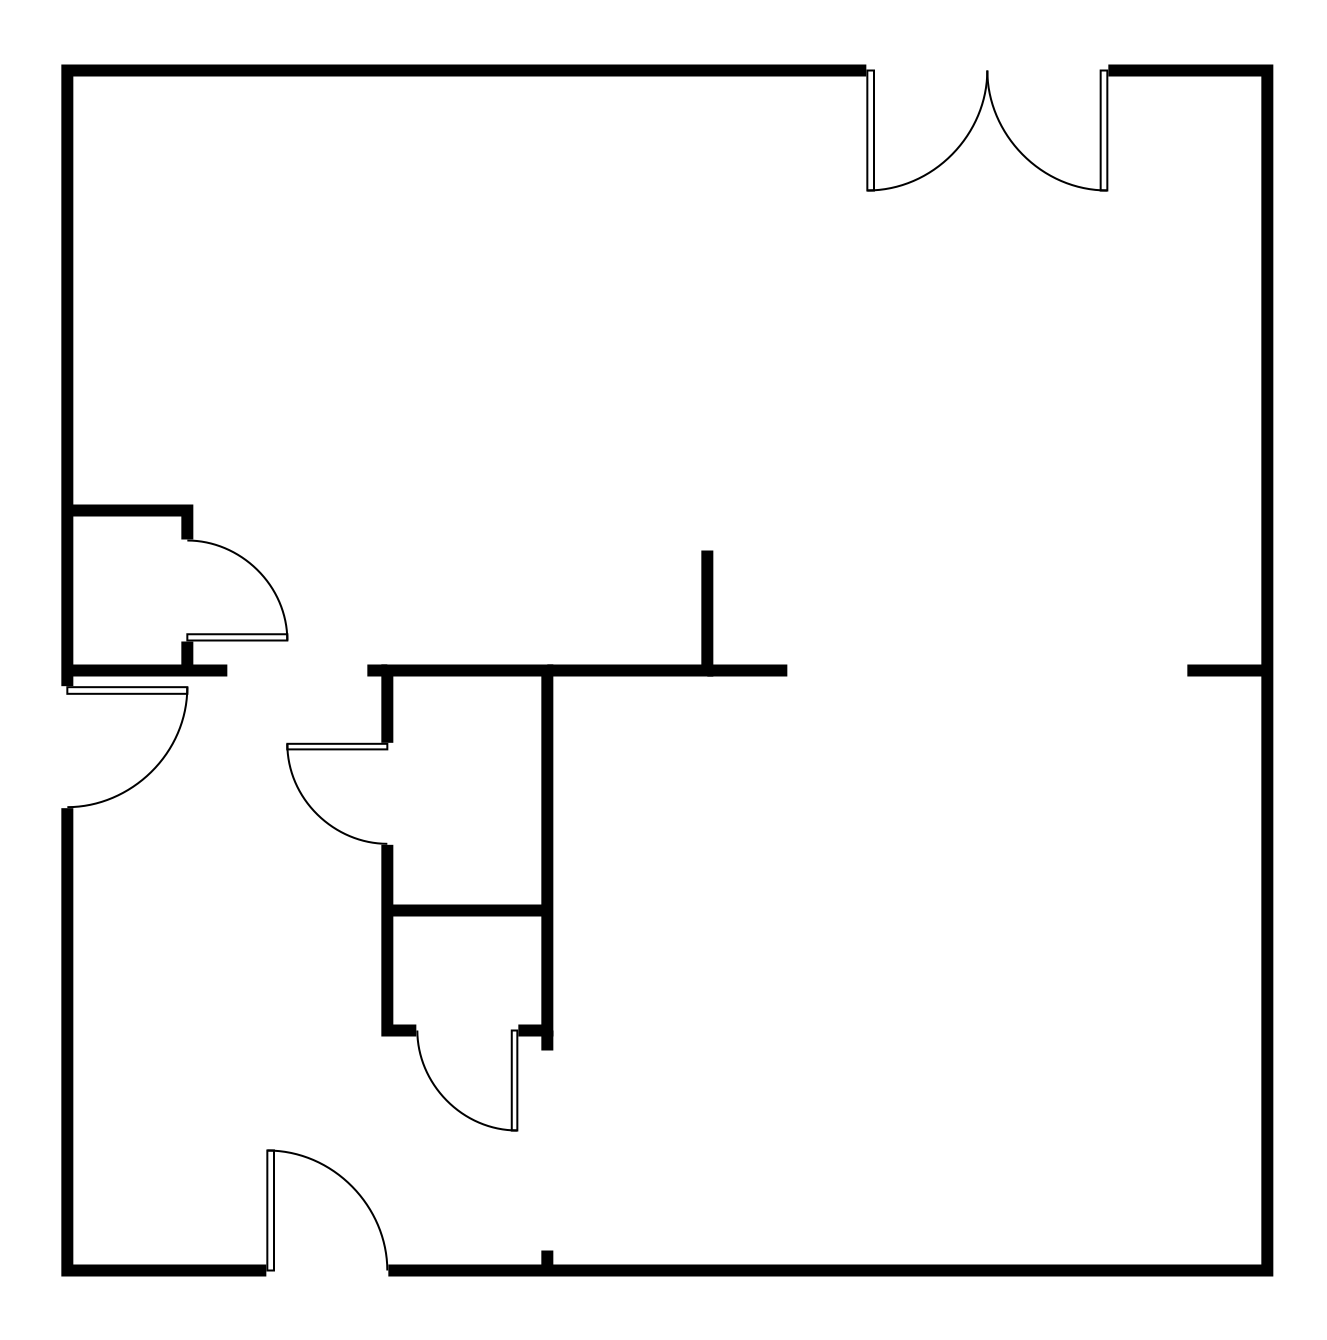
The next step in the process is to add the doors into the drawing. The following drawing was created by hiding every layer except for the Exterior Walls, Interior Walls, Door Cutouts, and Doors to make it simple to understand which way the doors should swing.
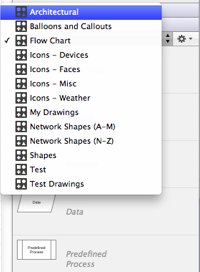
First, open the sidebar and navigate to the Architectural stencil sets in the Libraries Panel.
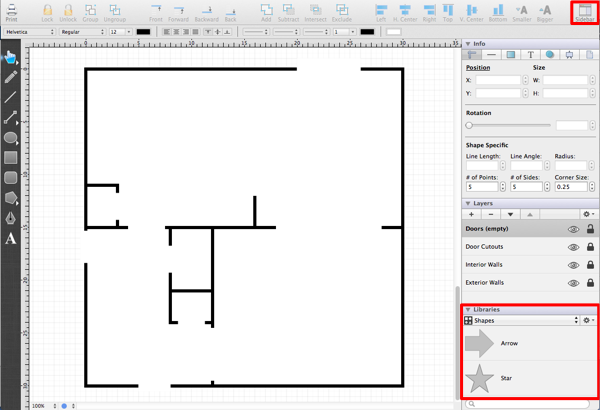
Next, select the Architectural entry from the Library Selection Menu to view the architectural stencils. After opening the Architectural stencil library, the Doors will appear at the top of the list.
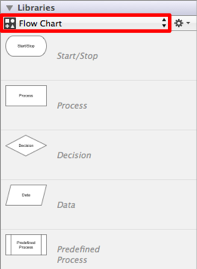
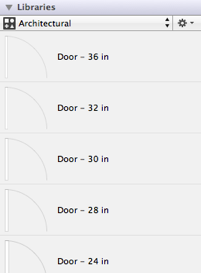
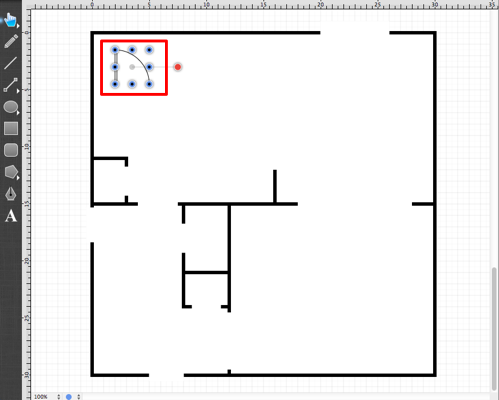
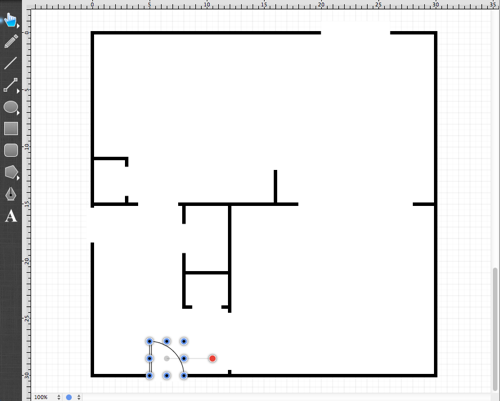
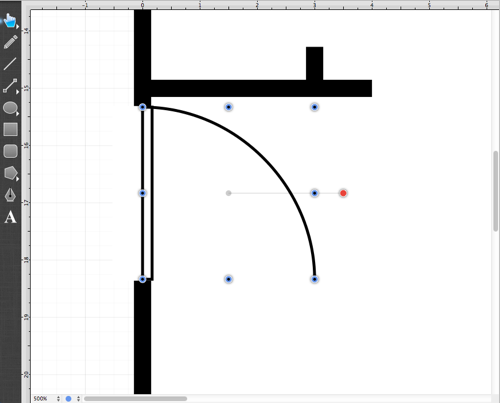
Click on the 36 in door in the stencil list and then drag it to the center of the drawing.

The inserted door will be much bigger than the scale of the drawing that is being worked on. This is because the stencil was created at the “default” Points per Unit setting that was changed in the one of the earlier steps.
Note: The issue where the stencils aren’t scaled to match the current Points per Unit will be in TouchDraw 2.0, if not sooner.
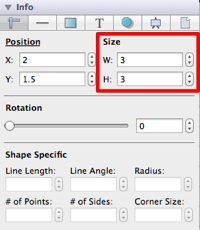
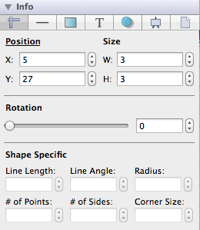
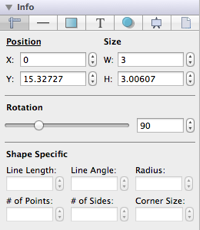
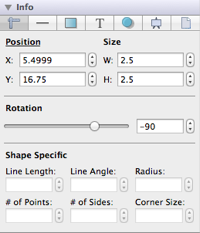
To resize the door, use the width and the height entries in the Adjustment Tab of the Sidebar Old. Enter a value of 3 for the width and the height since the front door should be 36” (or 3 ft).
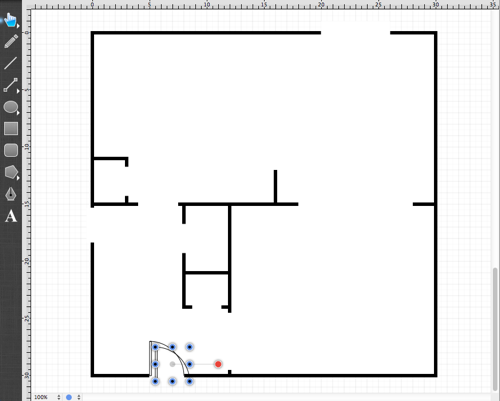
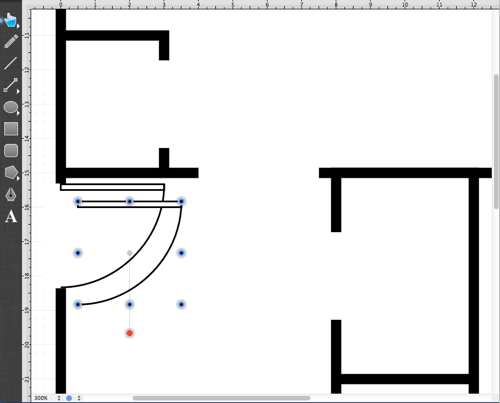
Now that the door is sized correctly, drag it down to the front door location for placement.
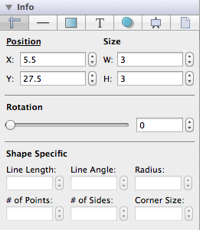
Note: It may be necessary to zoom in a little to position the door correctly within the door cutout. The Adjustment Tab can also be used to set the doors X position to 5 and Y position to 27.
Next, duplicate the door by using the same technique used earlier in this tutorial.
Then drag the door to where the side door should be placed.
Note: Since this door is 11 ft 7 in from from the lower right, you will need to zoom in until the 1 inch grid units are visible in order to place it correctly.
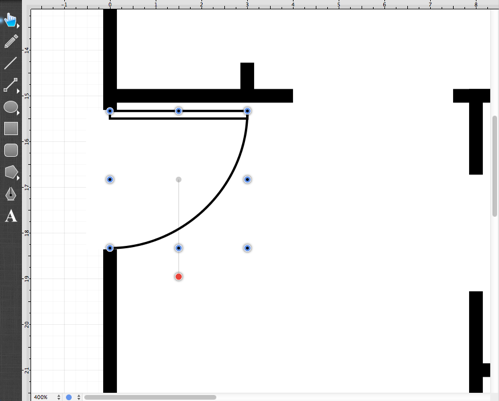
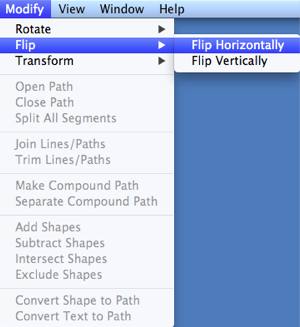
Next, use either the red Rotation Handle or the Rotate 90 Degrees Right command to rotate the door into it’s final position. The Rotate 90 Degrees Right command can be accessed by clicking on the Modify Menu and then the Rotate Submenu.
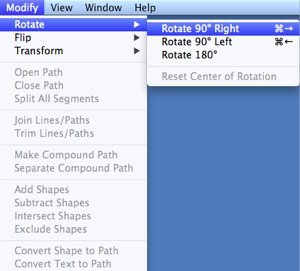
The side door will be in the correct location after executing the above command.
Next, duplicate this door to create a door for the bathroom.
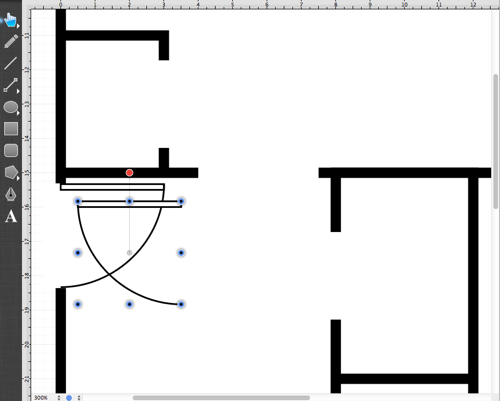
As you can see, the orientation for this door is wrong and it needs to be flipped horizontally. Open the Modify Menu, click on the Flip Submenu, and select the Flip Horizontally option.
The bathroom door will have the correct orientation after executing the Flip Horizontally command.
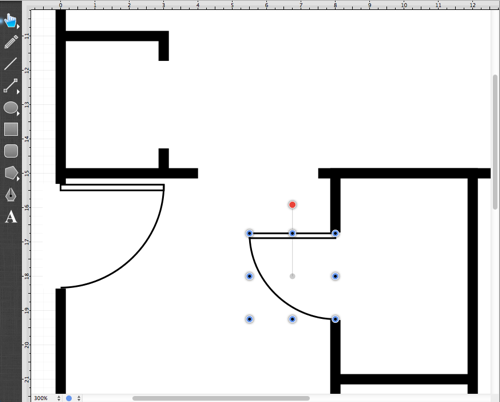
Next, the size of the door must be edited. The bathroom door is 2.5 ft (2 ft 6in) and the Adjustment Tab in the sidebar can be used to edit the size of the door. Once the size has been adjusted, zoom in on the bathroom door and drag it to the appropriate location.
Next, use the same techniques as above (Duplicate, Adjustment Tab, Flip Horizontally, Flip Vertically and Rotation) to create the doors for the rest of the openings.